Building a timber retaining wall is a classic DIY project. Here is a no-nonsense guide to footings, drainage, and getting it right.
Building a timber retaining wall is a classic Kiwi DIY project. When done right, it can transform a sloping section into usable flat space and add serious value to your property. But get it wrong, and you might end up with a leaning, collapsed mess. Here is a practical, no-nonsense guide to building a sturdy timber retaining wall.
1. Do You Need Consent?
Before you pick up a shovel, check the rules. In New Zealand, any retaining wall over 1.5 metres high requires a building consent from the local council. You also need consent for lower walls if they carry extra weight (called a surcharge) — like a driveway, a building, or a steep bank above them. If you're unsure, ask the council first. Unconsented walls can void your insurance and cause headaches when selling.
2. The Two Fundamentals: Footings and Drainage
A retaining wall is only as good as what's buried underground. Strong footings prevent the wall from toppling over. The posts need to be anchored deep enough to resist the earth pushing against them.
Good drainage is equally critical. Waterlogged clay or soil is incredibly heavy. If water can't escape from behind your wall, the pressure builds up and will eventually push the wall over. Always include proper drainage metal and a drain coil.
3. Materials You'll Need
Don't skimp on the timber treatment. You need materials that will survive in the ground for decades:
- Posts: H5 treated timber (typically 200mm round posts), spaced roughly 1.2m apart. H5 is essential for anything touching the ground or supporting loads.
- Rails: H4 treated timber (like 150x50mm or tongue & groove) for the horizontal boards.
- Concrete: Rapid-set concrete makes the job much faster.
- Drainage: Free-draining metal, a perforated drain coil with a filter sock, and geotextile fabric.
- Hardware: Heavy-duty hot-dipped galvanised nails and timber preservative for any cut ends.
4. Step-by-Step Construction
Step 1: Preparation. Leave a gap of at least 250mm between the back of your planned wall and the earth bank. You need this space for drainage. Make sure the ground slopes slightly towards where you want the water to exit.
Step 2: Digging the Holes. Dig holes 500mm wide for the posts. The rule of thumb for depth is 70% of the wall's height above ground. So, for a 1-metre high wall, your holes need to be 700mm deep.
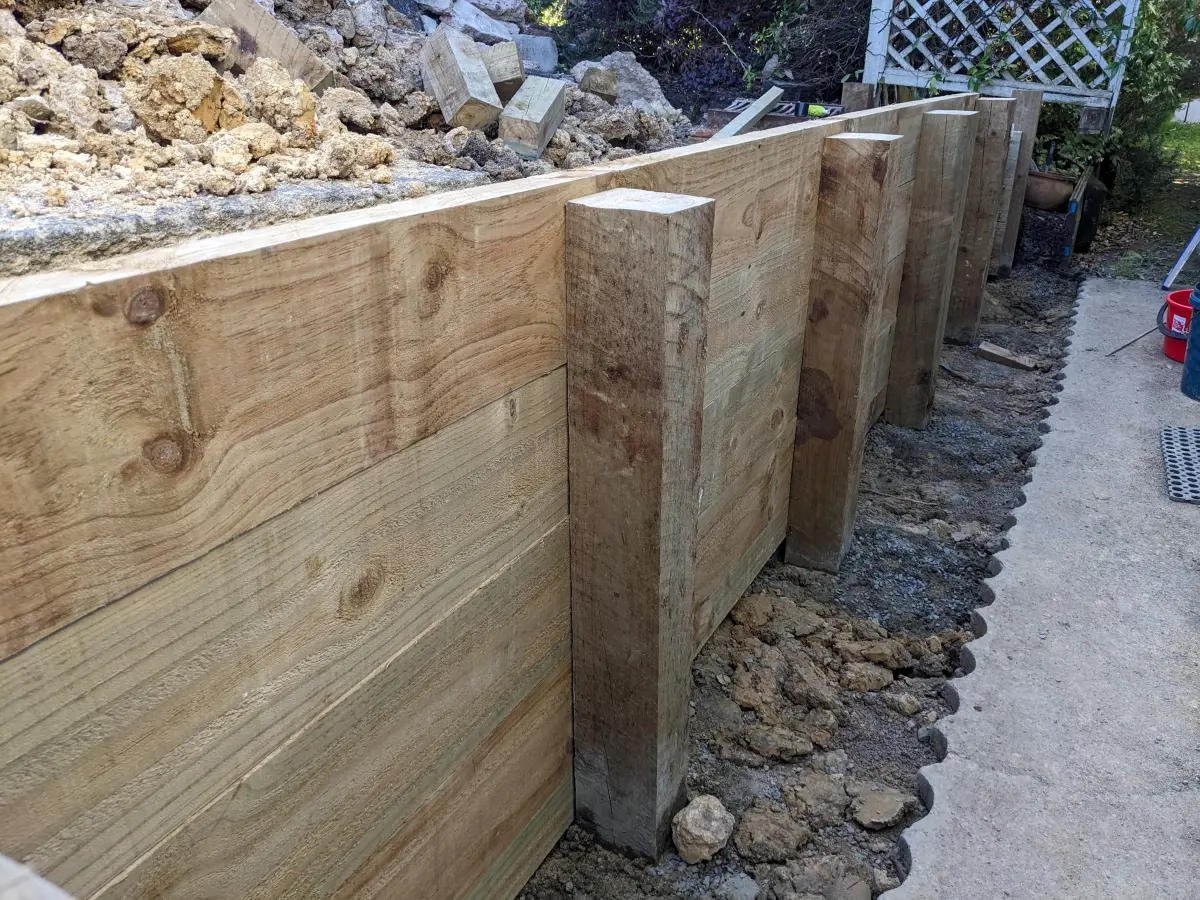
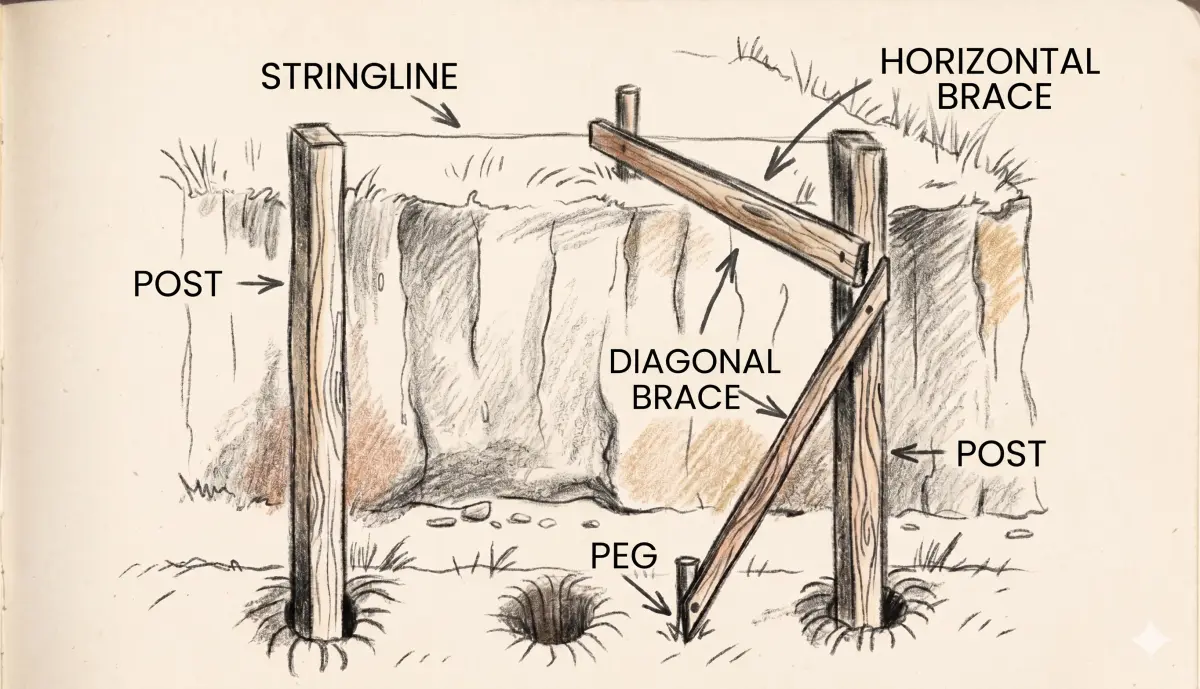
Step 3: Setting the Posts. Start with the two end posts. Pour about 100mm of concrete into the bottom of the holes. Place the posts in (always put uncut ends in the ground, or soak cut ends in preservative). For stability, lean the posts slightly back into the bank. Brace them, ensure they are plumb from the front, and fill the holes with concrete.
Step 4: Aligning the Rest. Once the end posts are set, run string lines between them at the top and bottom. Use these strings as a guide to install and concrete all the intermediate posts in a perfectly straight line. Let the concrete cure for a few days.
Step 5: Attaching the Rails. Nail the horizontal boards to the back of the posts (the side facing the dirt). Start at the bottom and work your way up. Leave tiny gaps between the boards to let water seep through.
Step 6: Drainage and Backfill. Lay a bed of drainage metal at the bottom, behind the wall. Place your drain coil (covered in a filter sock) on top, and cover it with more metal. To keep soil from mixing with the metal, place old sheets of cardboard or hardboard against the dirt bank, and fill the gap against the wall with drainage metal. Top it off with geotextile fabric and a layer of topsoil.
When to Call for Help
Building a small garden wall is a great DIY weekend project. But if you're dealing with heights over a metre, tricky slopes, or access issues, it pays to get a professional. We've built countless retaining walls across the North Shore that are built to last.